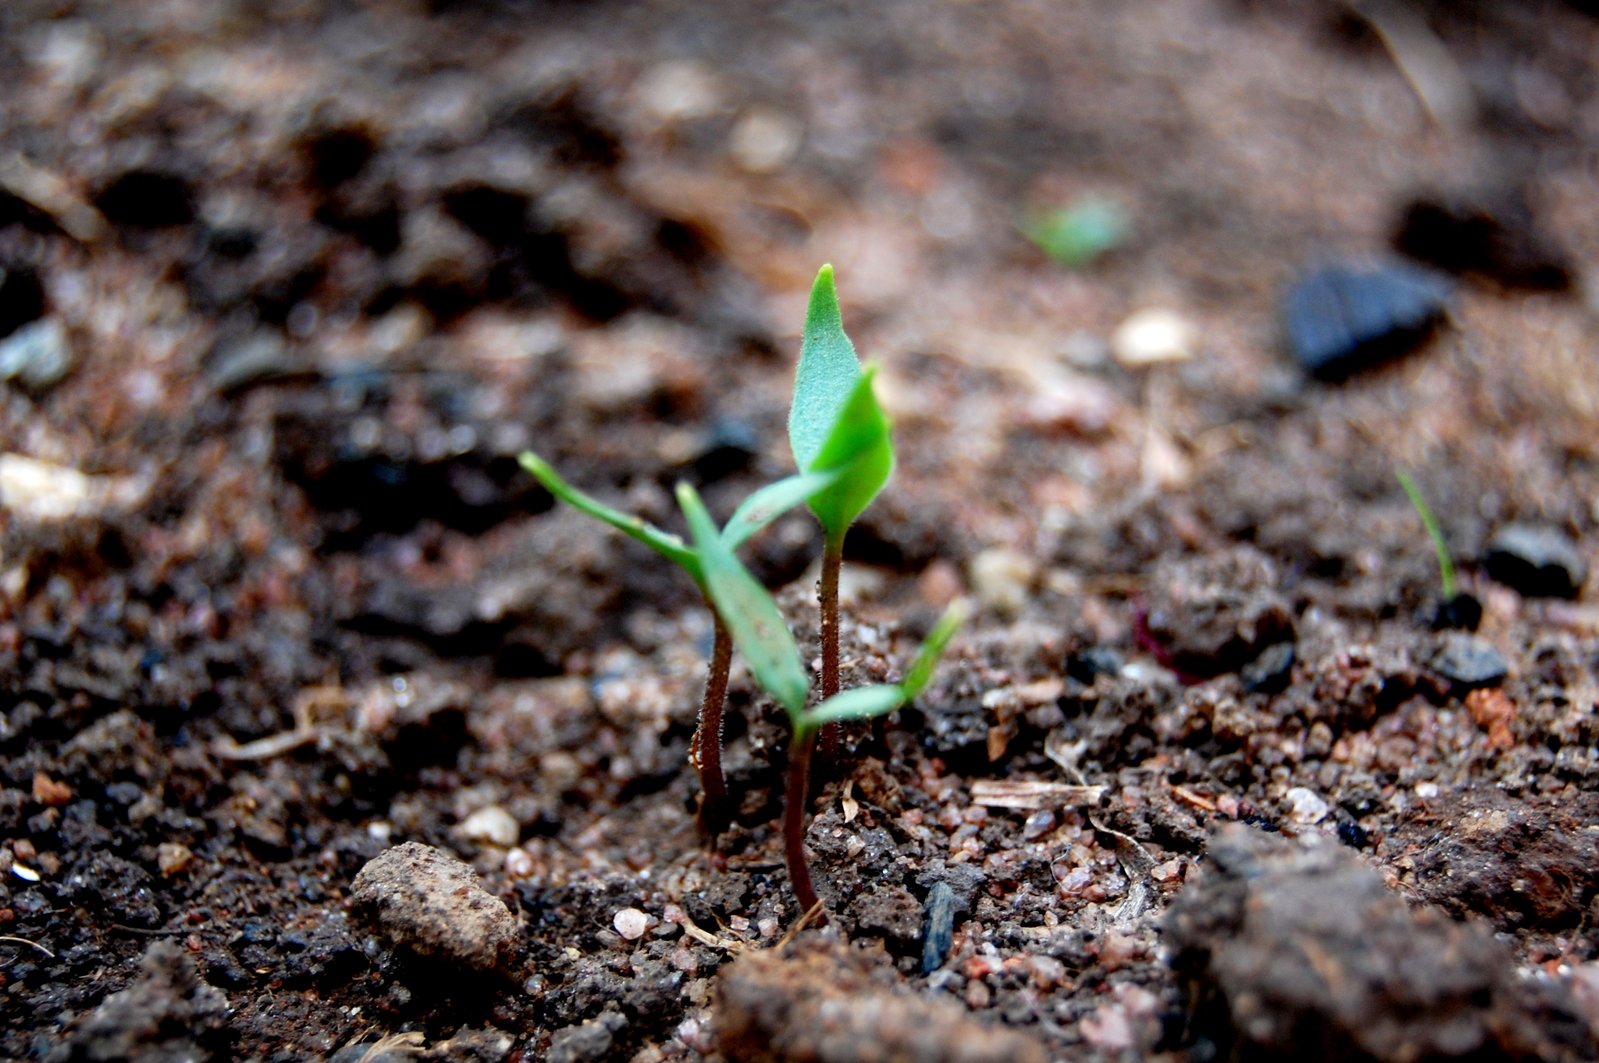
Are you new to the gardening game? Perhaps you’ve just taken the initial steps to starting a garden. You’ve chosen your garden location and have begun preparing the ground for planting.
Or maybe not. Maybe gardening is old hat to you and your only need of some sprucing up or you’re beginning to replant for the next season.
The Science of Garden Bed Aeration
Regardless of your tenure as a gardener, soil aeration is an important step in the gardening process. Soil aeration is the process of puncturing your garden’s soil with small holes. This prepares the way for air, water and nutrients to penetrate the soil. This process helps roots grow deeply and facilitates a strong and lasting garden.
Aerating your garden offers countless benefits including helping the microorganism population growth, which is excellent for the healthy and growth of your garden. Additionally, aeration prevents toxins from developing in your garden.
Hopefully you don’t need any more convincing to aerate before you plant. So, how do you go about aerating your garden? Well, actually the process is pretty easy. Let’s take a look!
What Type of Soil Do You Have?
This is the first question you should ask yourself because it’s important to know how frequently your garden needs to be aerated. If the soil is sandy, it only really needs to be aerated every two years. If the soil is more compact, such as clay soil, you will need to aerate more regularly. Once a year is recommended.

What Kind of Aerator Should You Use?
You can use an pickaxe, garden fork or even a shovel. But to get the best job, and save your back it’s best to use a garden tiller. A garden tiller is designed to dig up and aerate earth so there is minimal wasted energy on your part. There are many types of garden tillers available so you will have some shopping to do, however here is a quick run down on the different categories of tiller.
Powered or Manual?
The first type is a gasoline powered tiller. These types of aerators are great for large areas requires aeration. This tool either uses spikes to create holes in the soil. Or, it will use a technique that pulls up soil to let nutrients and water reach the plant roots easily. A power yard tiller can be purchased or rented from your local home and garden store.
If your garden is smaller, a manual tiller might be the best option for you. Again, there are two different types! The first type uses spikes to puncture holes into the soil. The second type utilizes soil extraction. It is a coring-style aerator.
Prep the Area for Aeration
If you’re getting ready to aerate your garden, make sure it is clear of debris including sticks and leaves or any plant matter that will get in the way. Also, make sure the ground is moist. This will makes for easier aeration and you will have much better results!
Now You’re Ready to Go!
If you’ve completed all of the above steps, you are ready to start aerating! Begin at whichever side of you garden you prefer and go back and forth until you have aerated the entire space. If parts of your garden’s soil are more compact, make sure you go over them twice to fully enjoy the benefits of aeration. If you’re using a coring-style aerator, leave the cores! They will create nutrient rich compost for your garden’s soil!
Don’t Forget to Fertilize!
The final (and most important) step in the aeration process is fertilizing. The soil will need assistance in recovering after aeration and fertilizer helps with just that. Additionally, the soil will absorb the fertilizer easily since it has just been aerated.
Aeration sets the foundation for a thriving and long-lasting garden. Thankfully this process does not require many tools and is relatively easy to complete. And don’t forget that it is a vital step to ensure your garden receives the nutrients, air and water it needs to produce and flourish.
Author
 Zac Spade from ZacsGarden.com
Hi my name is Zac! When my wife told me that I needed a new shed it started an outdoor obsession that ran into everything from outdoor improvements, to growing food and everything in between. You can see what I’ve done and how to do it for yourself at my website.
