
Do you want to improve the soil in your garden? Did you know that mushroom compost can help in improving your soil? Get to know how to create a mushroom compost for soil improvement by the given information below.
Mushroom compost is use to help with the conditioning of the ground. It is the result of a decomposition, which is because of the microorganisms. For people who don’t know, microbes thrive and multiply in organic materials that are rich in proteins and carbohydrates. Another essential element for the microbes to grow is by providing them with the needed amount of water.
You may be wondering if it is challenging to create a mushroom compost, worry no more because this is a task that you can easily do. All you need are carbohydrates to ensure that you are providing the energy needed for the microorganisms, moisture, and air to help in multiplication and growth, and as well as nitrogen the supply of protein.
How to Create Mushroom Compost for Soil Improvement
Gathering the Ingredients Needed for Mushroom Compost
The first thing that you need to do is to gather all the required ingredients for you to be able to create the mushroom compost. The ingredients needed are wheat straw, cottonseed meal, molasses, cow, chicken, and horse manure, compost activator, blood meal, superphosphate, calcium carbonate, and gypsum. Also, you can prevent maggots if you do not include any other ingredients that are not mentioned.
Wheat Straw and Water
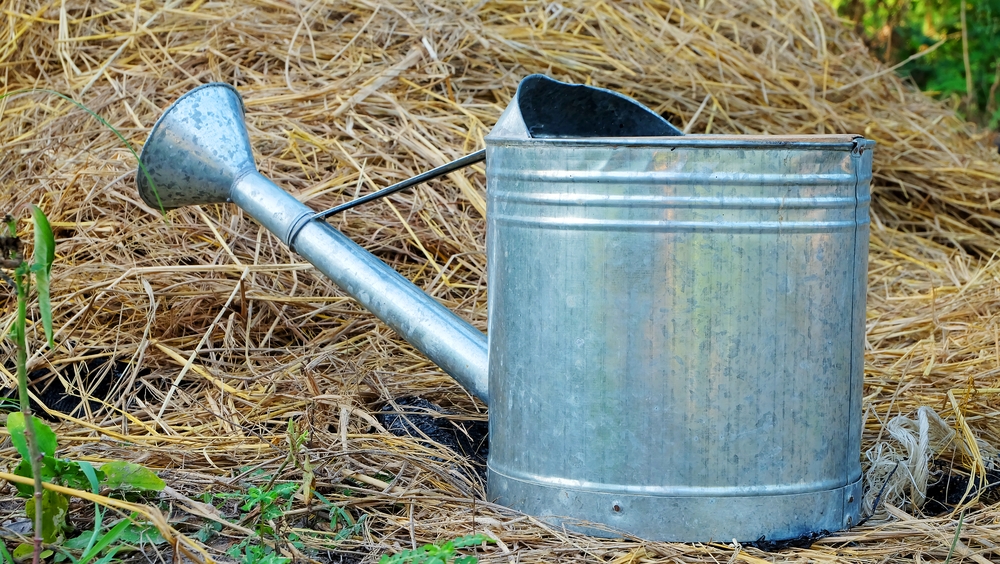
Start placing the wheat straw in the water and leave it for 3 days. The wheat will the be absorbing the water, which will be beneficial for the microbe’s multiplication. You should always check the wheat straw because letting them dry will only kill all the microbes, which will then destroy the compost completely. Once done, you can transfer the wheat straw to a bin and make sure that you have already removed the excess water.
Mixing the Ingredients to Create a Pile
Mix all the ingredients except gypsum. When mixing the ingredients, you need to make sure that there is enough moisture in it. Mix them all for you to be able to create a heat with the pile that you are mixing. Once done, you need to make sure that the pile is loose for it to create air pockets. You can let this mixture stand for at least 6 to 7 days.
Checking the Pile’s Temperature
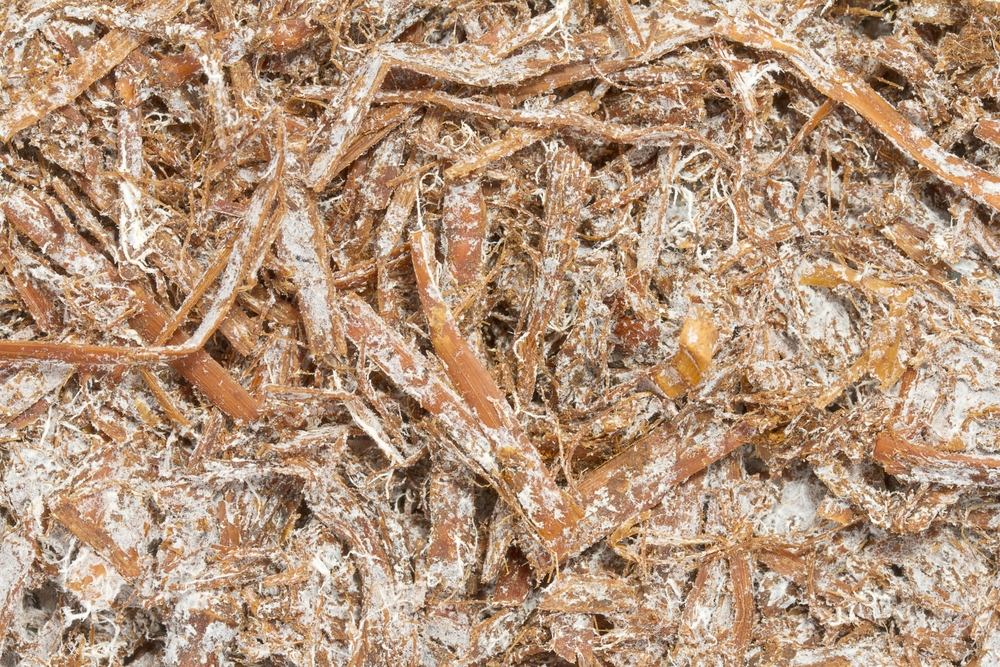
The temperature of your pile should be 150 to 180 degrees Fahrenheit. You don’t have to worry if the temperature starts to lessen since this is normal. You will know that your mushroom compost has attained the needed temperature once you see fungus that is white in color since this type of fungus can only grow when the temperature is high.
Adding the Gypsum Ingredient
After one week, you can add the last ingredient, which is the gypsum to your pile. You need to make sure that you are mixing it in a pile properly. Let the white fungus be mixed with the pile as this won’t do any harm. You can start adding a little water to ensure that the pile won’t lose all of its moisture. Leave it again for 5 days before you start mixing it again.
Final Mixture of the Mushroom Compost
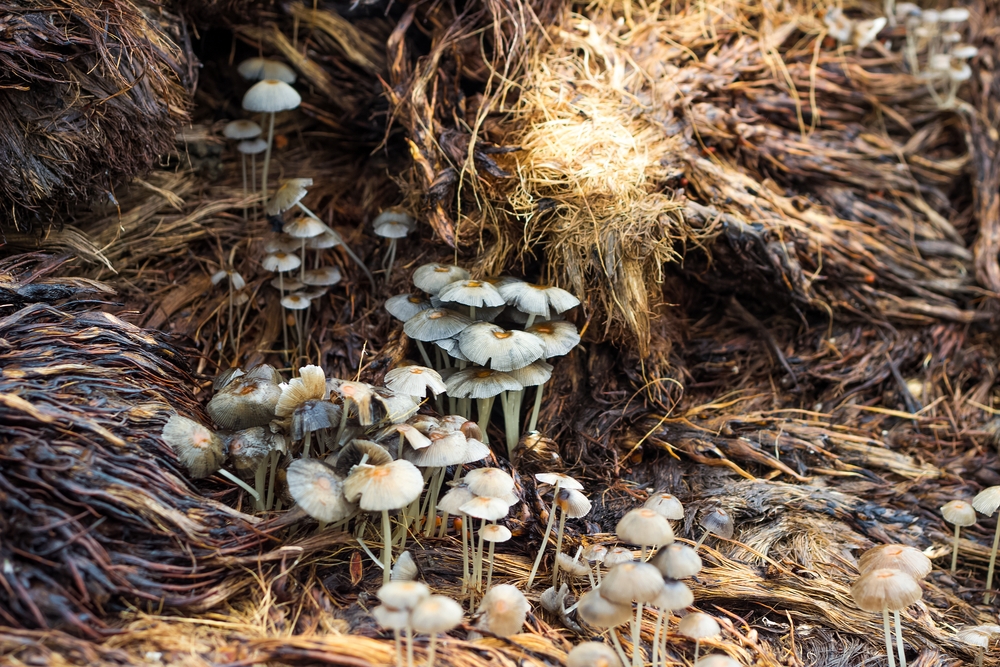
After 5 days, you can start mixing it again. You might notice a small pile, which is normal since the mix’s mass has reduced because of composting. You should see a brown to black in color with the white fungus in them. The pH of the compost should be 7 to 7.5, while the smell should be earthly.
Pasteurizing the Mushroom Compost
Lastly, you need to pasteurize the mushroom compost for 4 hours at 140 degrees Fahrenheit inside the oven. To help retain the moisture, you can cover it up with a lid while letting it cool. You can start adding the mushroom culture once it has cooled down.
These are all the tips on how to create mushroom compost for soil improvement. Just follow the tips above, and you will surely be on your way to making your mushroom compost for your garden.