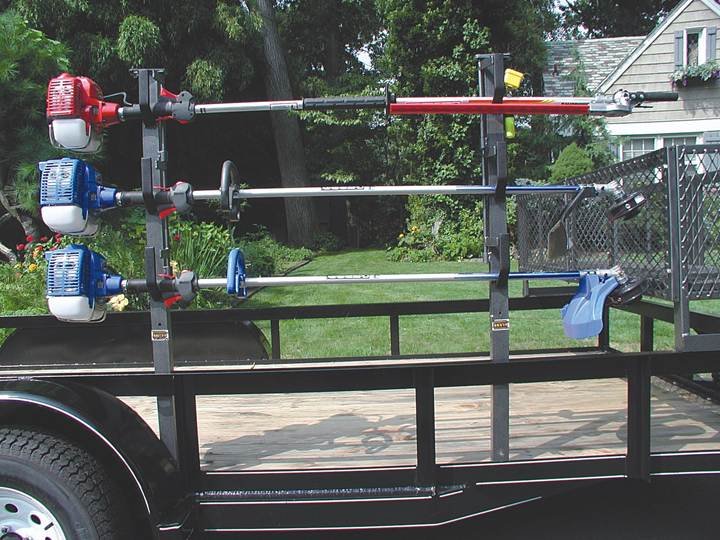
Anyone who looks after more than one patch of ground knows the rhythm of the season. You tend a community plot on Tuesday, tidy a neighbor's rented lot on Thursday, and spend Saturday edging a church garden. Somewhere in that routine, the string trimmer and the backpack blower have to travel from the shed to the site and back again. Tossed loose in a trailer, they tangle, crack and sometimes bounce out. A proper rack is the easiest fix, and this guide covers how to choose and use one.
Why do trimmers need their own rack on a trailer?
A string trimmer is long, light and awkward. The shaft bends, the head scrapes, and the fuel or battery sits at one end where it can get knocked around. Loose in an open trailer, a trimmer slides with every turn and rattles against everything nearby. The result is a bent shaft, a snapped throttle cable or a trimmer that never quite starts the way it did last week.
Racks designed to hold trimmers upright or flat give each tool a fixed position. In practice, racks that hold trimmers on an open trailer are a common sight on landscaping crews for a simple reason: they keep the work end of the tool off the floor and the handle where you can reach it. Rack’em MFG builds racks in this category, and the idea carries over neatly to anyone caring for community gardens, shared plots and rented land, even when the "crew" is you and a borrowed utility trailer.
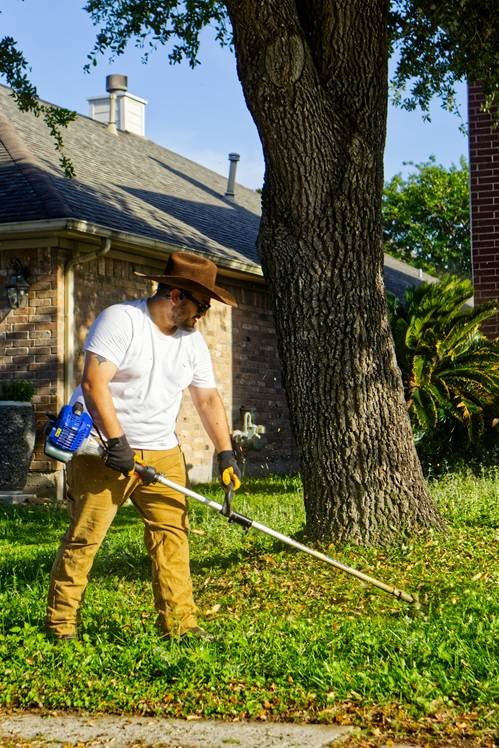
*Image source Unsplash
What is an open trailer rack, exactly?
An open trailer rack is a bracket or frame that bolts to the rails or frame of an open utility trailer. Rather than being a box or a cabinet, it is a set of holders that cradle individual tools. Some hold trimmers, some hold backpack blowers, and some are made for rakes, shovels or fuel cans. The common feature is that the tool is gripped at two points so it cannot swing, and the rack stays out of the way of the trailer bed.
Because open trailers have no walls, the rack is also where weather and road vibration do their damage. That is why steel or aluminum construction and a protective finish are worth looking for. Rack’em MFG’s catalog, for one, includes both steel and aluminum products.
How do you choose the right trimmer rack?
Start with what you carry. A single trimmer needs a simple rack; two trimmers and a blower call for a multi-tool layout. Next, measure your trailer rail or mounting surface, because racks differ in how they attach. Check the clearance for the trimmer head and the way the shaft sits, since curved-shaft and straight-shaft models rest differently. Finally, think about access. If you stop at four plots a day, you want to lift a trimmer out in two seconds, not wrestle with straps.
A short checklist helps:
- Count the tools you haul on a normal day.
- Measure the mounting rail or frame of your trailer.
- Confirm the rack grips the shaft at more than one point.
- Choose weather-resistant materials for an open trailer.
- Leave space between tools so heads and handles do not clash.
Is a rack enough, or do you need to secure the trailer too?
A rack organizes tools; it does not make a trailer safe on its own. The Wisconsin Department of Transportation's towing safety guidance is a useful, plain-English checklist. It advises inspecting the trailer's tires, axles, bearings and lights before every trip, and confirming that the ball and hitch coupling are the same size and latch securely. It also recommends loading more weight toward the front of the trailer to help prevent sway, attaching two safety chains of proper strength with enough slack for turns, and crossing the chains to form a cradle in case the hitch disconnects.
The same page states that a load is secure only when nothing can drop, sift, leak or become airborne, and suggests tying large objects to the vehicle or trailer and covering the whole load with a sturdy tarp or netting. For small tools, that means a rack for the trimmers and a strap or net across the top for everything else.
What are the most common mistakes?
Gardeners and part-time crews tend to repeat the same few errors. Stacking heavy items on top of the trimmers crushes the shafts. Mounting the rack too close to the rear of the trailer leaves the tools exposed to bumps and to the dust cloud. Leaving fuel cans loose near the trimmers adds risk. And skipping the end-of-day check means a loose bolt or a worn strap goes unnoticed until it fails.
What does a good loading order look like?
Put the heaviest items, such as a mower or a bag of soil, toward the front over the axle. Place the trimmers and blower in their rack on the side where you can reach them. Keep lightweight items, like gloves and trimmer line, in a closed bin. Strap or net the whole load before you leave. Doing it in the same order every time builds a habit, and habits are what prevent the "I thought I had it" moments.
What should you do when the season changes?
Fall cleanup and spring planting bring different loads. Leaf blowers and rakes take over from edgers, and mulch bags replace tool bins. A rack that can hold more than one kind of tool, including the backpack blowers and hand tools that Rack’em MFG and other makers list, makes the swap quick. Wipe the rack down, check bolts, and look for rust at mounting points before the season starts.
Keeping your tools, and your plots, in good shape
Taking care of land is a patient business, and the tools that do the work deserve the same patience. Keeping them organized on the way to the site means they arrive working and leave without a scratch. In the same way, a few minutes spent checking hitch, chains and load will keep the trip uneventful. As you plan the 2026 season, a dependable rack and a repeatable loading routine are small investments that make every plot easier to tend, and Rack’em MFG is a good place to see what a well-organized open trailer looks like.