Many homeowners who consider installing an irrigation system are not confident whether the maintenance difficulties are worth the benefits of such an investment. Actually, you will instantly see that sprinkler maintenance isn’t complicated at all once you learn how to adjust a lawn sprinkler properly. And that’s what this article by BumperCropTimes.com is all about! Read on to get familiar with how sprinkler systems work and how to adjust all the popular types of sprinklers to save up as much time and water as possible.
|
How to adjust sprinkler heads:
|
Sprinkler Adjustment Guide
Below, you will find all the aspects of adjusting different types of sprinklers.
How sprinkler system works
Both inground and above-ground sprinkler systems consist of water pipes connected to an outdoor water source and sprinklers attached to these pipes. When the water goes through the pipe, water pressure goes up and goes out through sprinkler nozzles under pressure. Pop-up sprinkler heads go up as the water pressure pushes them up and hide back below the level of the ground when the pressure goes down. Rotating sprinklers move from side to side due to pressure-activated mechanisms too.
How to adjust a lawn sprinkler
Adjusting sprinkler heads of different types requires a specific approach, so let’s learn each popular sprinkler head type adjustment process separately.
Step 1: Sprinkler type identification
There are 3 basic types of lawn sprinklers:
- Gear-driven rotor heads – have a single water stream and back-and-forth rotation;
- Pop-up sprinklers – pop up due to water pressure and spray water 360°;
- Impact (multi-trajectory) sprinklers – spray water in different or multiple directions.
Step 2: Assess your lawn
Your lawn needs will define the kind of adjustments due. For example, lawn areas that look dryer need more water, while the ones that look overwatered need less water.
Step 3: Prepare the tools
Although most manufacturers offer branded adjustment tools along with their sprinkler systems, you still need to know the names of the required universal tools in case they are not included or you lose them. Depending on the head type, you may need one of the following tools:
- Rotor nozzle key;
- Rotor screwdriver;
- Slotted screwdriver.
You can get any of these in the nearest gardening supply store or online.
Step 4: Adjust sprinkler heads
Now, take a look at how to adjust each spray head type.
Rotor sprinkler head
Follow these steps to adjust a rotor head:
- Turn the water on and stand behind the sprinkler that needs to be adjusted.
- Hold the rotor head and turn it to the left to finish any current rotation cycle then turn it to the right until it stops spraying water.
- Find plus and minus symbols on the top. There’s a keyhole near them.
- Place the end of the rotor adjustment key into that hole. Hold the head so that the nozzle faces right and turn the key counterclockwise to increase spray arc width or clockwise to decrease it.
- Remove the key and let the sprinkler work to see if the adjustment is correct or needs to be fine-tuned.
The process is the same for most popular brands that ell this sprinkler head type, including Hunter and Rain Bird. However, some models by Toro have a reverse fixed stop, so you need to turn it left to stop the sprayer.
Pop-up sprinkler head
Here’s how to deal with pop-up sprinklers:
- Check the spray nozzle type first. Fixed nozzles are non-adjustable and need to be changed to spray differently. If you have variable nozzles, keep reading.
- Take your slotted screwdriver and turn the small screw on the top of the nozzle to change the radius.
- Hold the top ring of the nozzle and rotate it to change the arc size.
- Hold and rotate the stem of the sprinkler to adjust the align the arc towards the needed direction.
Impact sprinkler head
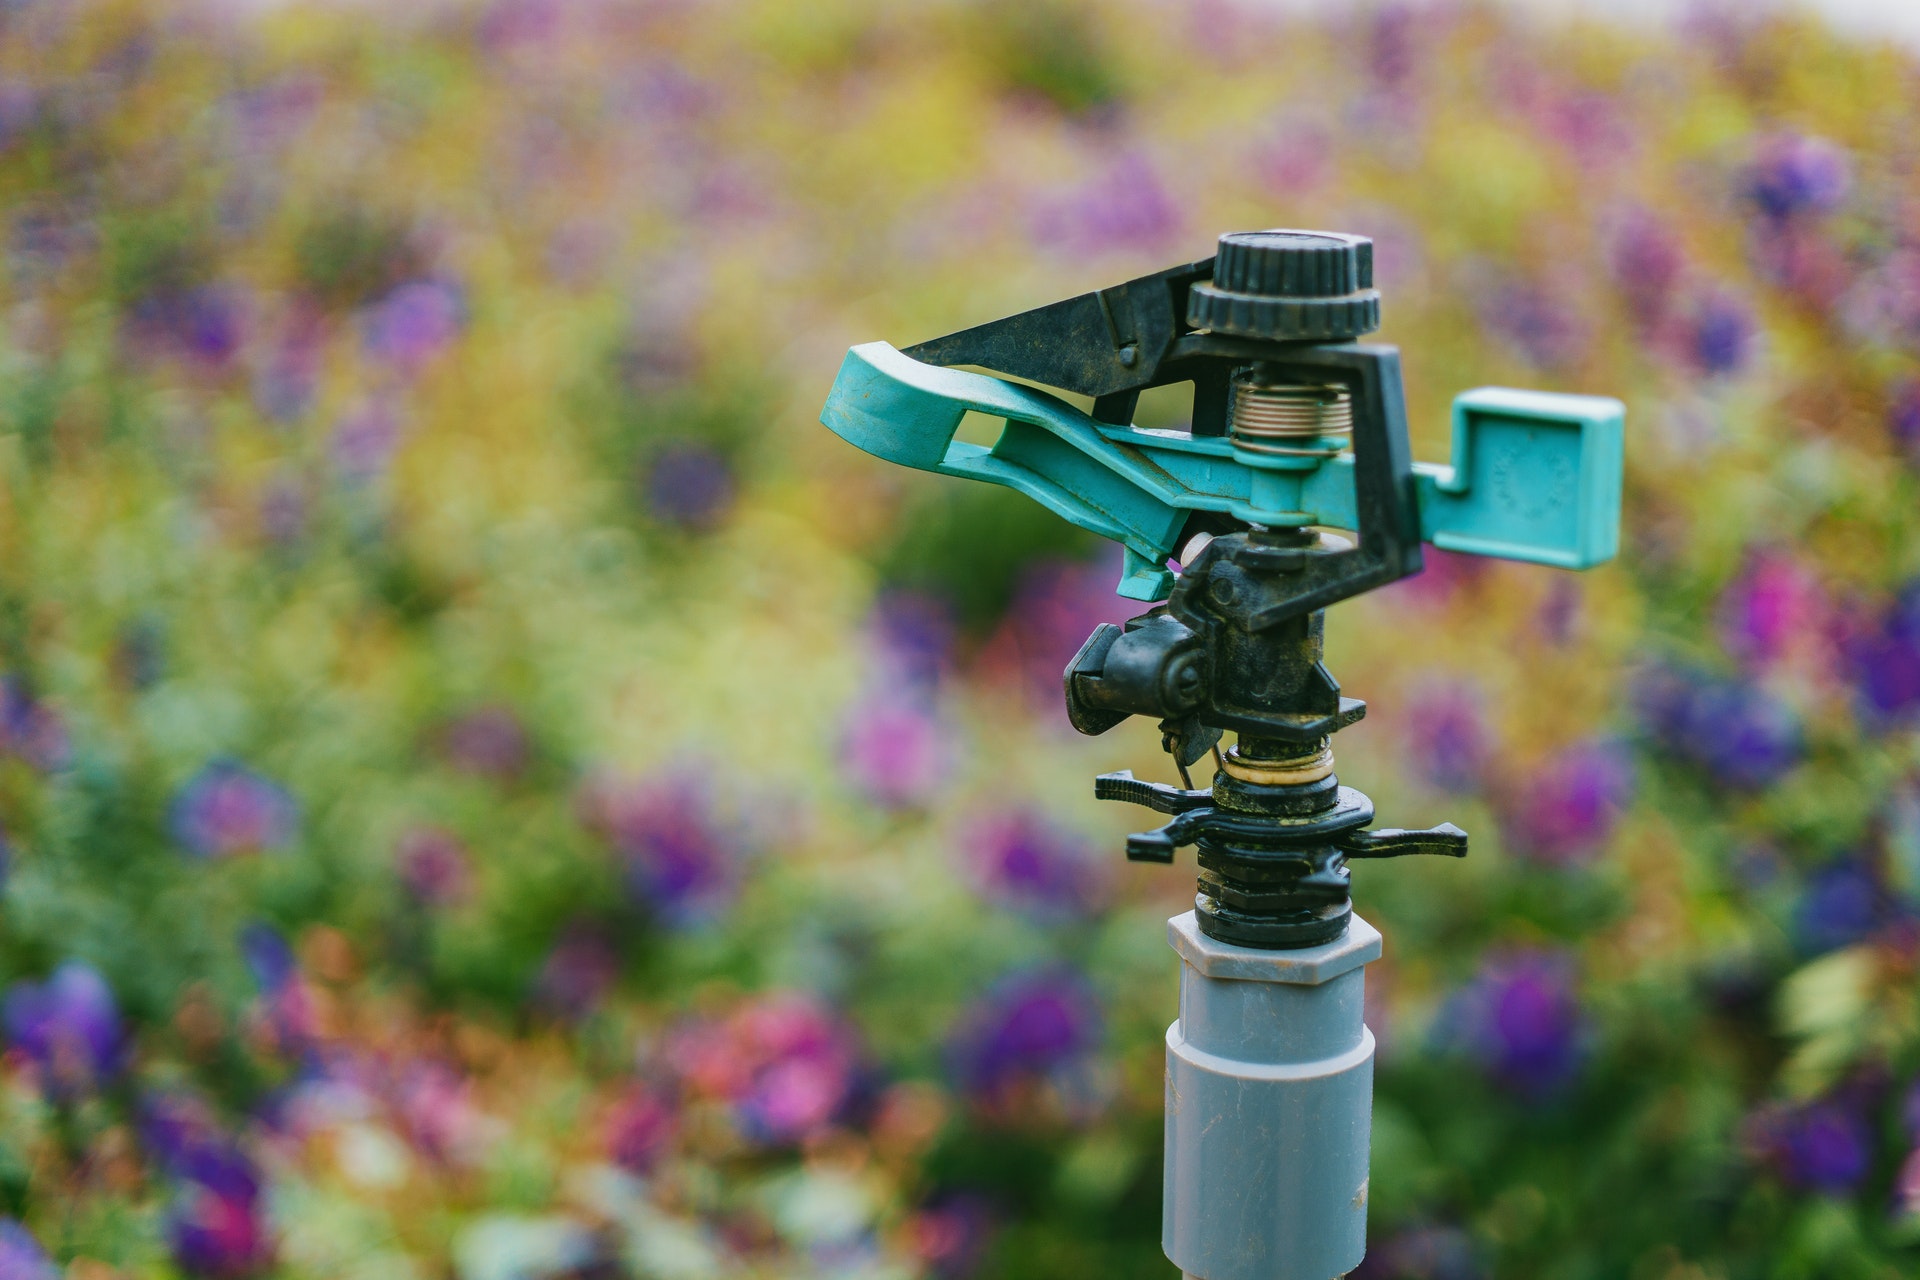
Although this type looks the most technically complicated, it offers the simplest adjustment process. All you need to do is rotate the head of the sprinkler clockwise to increase the spray arc and counterclockwise to decrease it. In both cases, you can use a standard adjustment collar to free the hand you are holding the rotor head with.
FAQ
Don’t skip this section as it has some important information to learn too.
How do you adjust a rotating sprinkler?
You can read a detailed guide on how to adjust rotating sprinkler heads above. The short version looks like this:
- Turn the sprinklers on;
- Stand behind a sprinkler;
- Turn the rotor head left and right to stop the water;
- Insert the adjustment key;
- Turn it left or right to tune the arc.
How do I make my sprinkler spray further?
Most sprinkler head models let you increase spray distance by turning the center screw counterclockwise. You need to turn it clockwise to reduce the distance. As for rotor models, the distance is adjusted together with the arc. Finally, impact heads allow only arc adjustment.
How do you adjust a pop up sprinkler head?
There are 3 main ways to adjust a variable pop-up sprinkler head:
- Turn the small screw on the top with a flat screwdriver to change the spraying radius;
- Rotate the top ring to tune the arc size;
- Rotate the stem to align the arc.
Sprinkling It Right
Proper sprinkler adjustment will help your turf thrive and reduce the amount of water wasted during the season. Now that you can call yourself a professional in sprinkler head adjustment, it’s time to leave feedback in the comments and share this guide with other homeowners you know to help them out. Was everything clear enough in the guide for you? You are welcome to ask any questions that are not covered above to get a prompt response from us.
