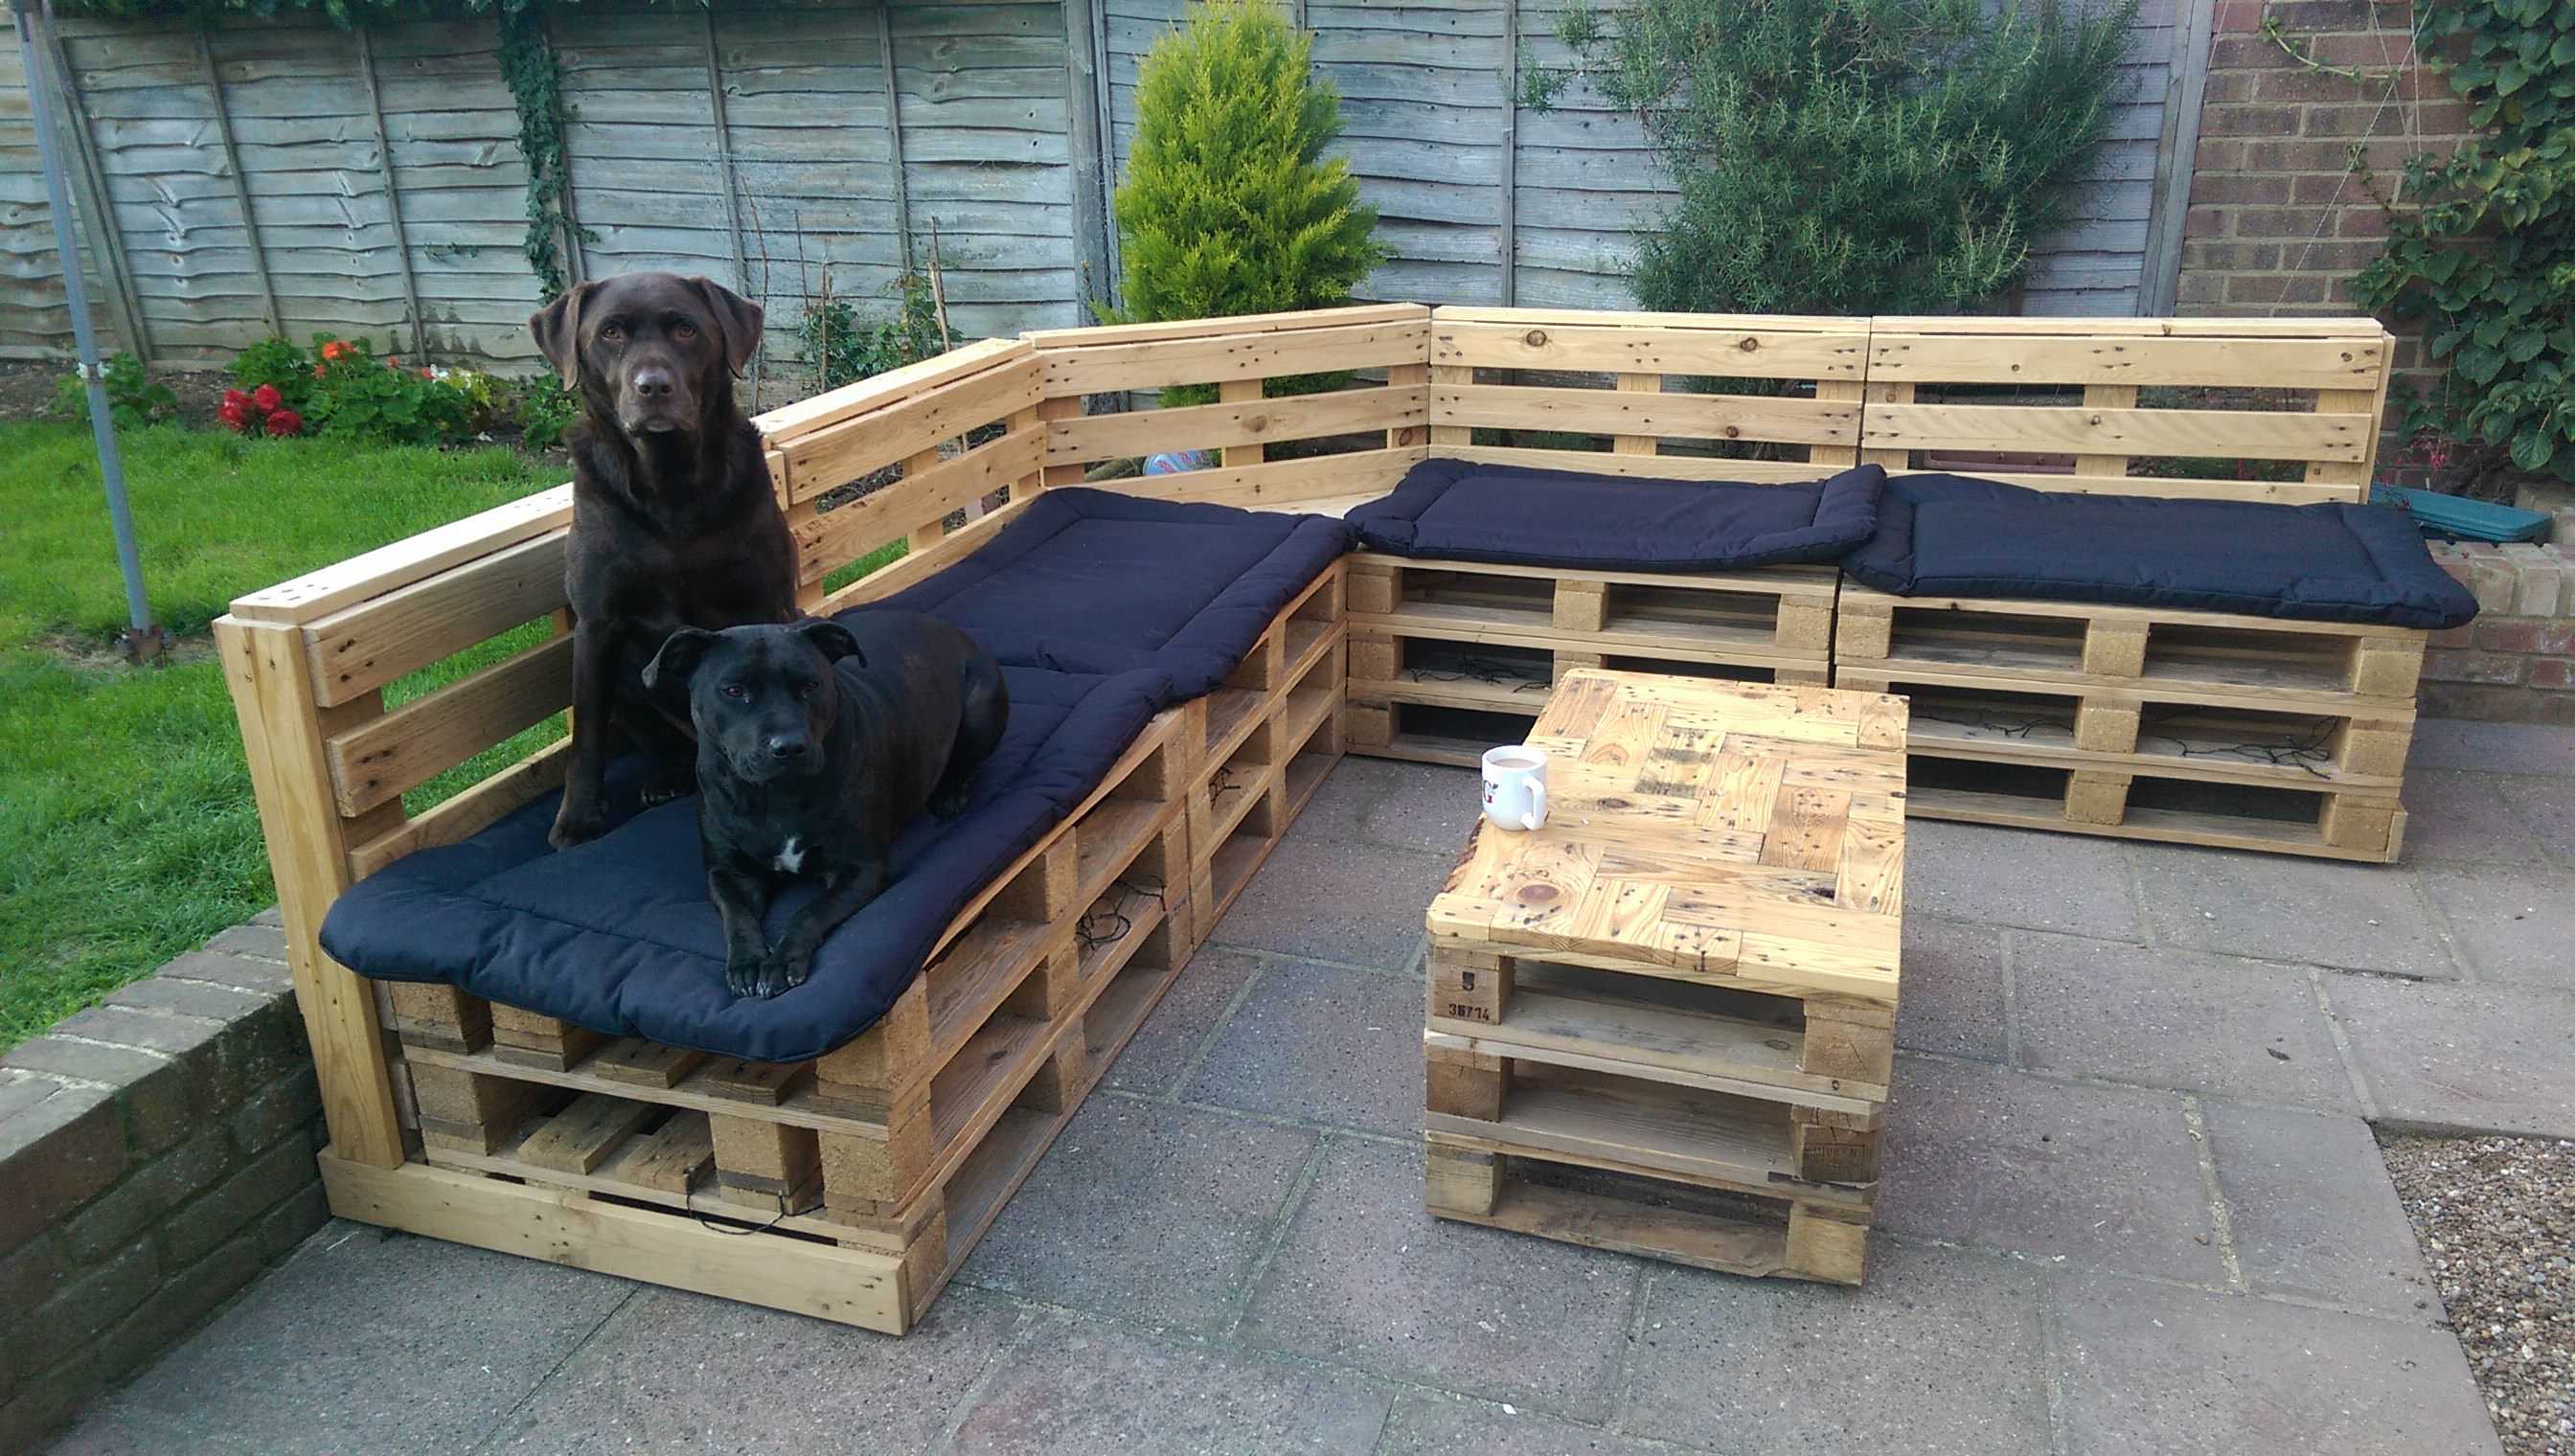
So, this is potentially one of my favorite pallet projects. It is comprised entirely of reclaimed materials including pallets, cushions, pillows, and the fabric that is almost "reclaimed". The fabric is located at the end of the spool remnants, and the cushions were created using used baby mattresses. The pillows are reclaimed pillow material, so it is a very simple item to build. Check it out below.
Step #1: Collecting The Different Pallets
The first step is to collect various types of pallets. In totality, I used nine average size pallets and I chose the highest quality pallets available because I want this item to last for as long as possible.
Step #2: Cut The Pallets To The Same Width
I chose to cut the different pallets to a width of 27.5 inches. This is the easiest measurement for my project where I could "mix and match" the pallets when desired. After measuring the items, I cut directly across all of the slats with a circular saw I own and then removed the inches hanging on the side. I reused the 2x4 side by placing it in the gap and reattaching it to the pallet with nails. The overall length once laid out was a perfect L at 78 inches by 78 inches.
Step #3: Creating The Cushions
I placed the cushions on the pallet to determine what length would be needed overall. The first image shown indicates the left pallet when it is upside down. I wanted to show this because it presents the extension of the front 2x4 to hide the gap of the pallet; as well as how it is shortened when the cushions are put in place. The spaces on the pallet are laid out a bit more when put together correctly.
I located some baby mattresses during a dumpster dive and this is what I chose to use for cushions. It is highly beneficial because, let's face it, foam is extremely expensive. I opted to use the full width of the mattress, but the rear saw me cutting the mattresses in two and working with that dimension. The material used to cover the cushions and create the pillows was the only item I paid for at $3/pound. It was purchased as fabric remnants from larger rolls because I tried to use reclaimed materials; however, this was the nearest I could get for outdoor materials.
Step #4: Securing The Pallet Backs
Securing the backs seems difficult, but it is not that complicated. Secure the backs using some screws and when you reach the corner simply overlap the pallets allowing you to screw along the seam. I opted for 2 inch screws.
Step #5: Use The Pallet
This is the most exciting part - using the pallet. You are finished and it is time to enjoy the outcome. The pallet is ideal for patio parties, bonfire events, whatever you wish to use it for. I constructed mine over two years ago and it is still strong. I pressure washed it recently to increase its lifespan and it looks as if it was constructed yesterday.
